• Illuminate Your Emotions: Lighting Insights Unveiled

    Illuminate Your Emotions: Lighting Insights Unveiled

    In our increasingly artificial world, the nuances of lighting emerge as silent architects of our emotional landscapes. The interplay between brightness and color temperature can evoke a spectrum of feelings, shaping not only our moods but also the very fabric of our interactions. Warm, inviting hues may cradle us in comfort, while cooler tones can awaken a latent energy, urging us toward creativity and productivity. As we explore these dimensions, one must ponder: how can the strategic manipulation of light elevate our everyday experiences beyond mere functionality? The answers may illuminate pathways previously unconsidered.

    The Power of Brightness

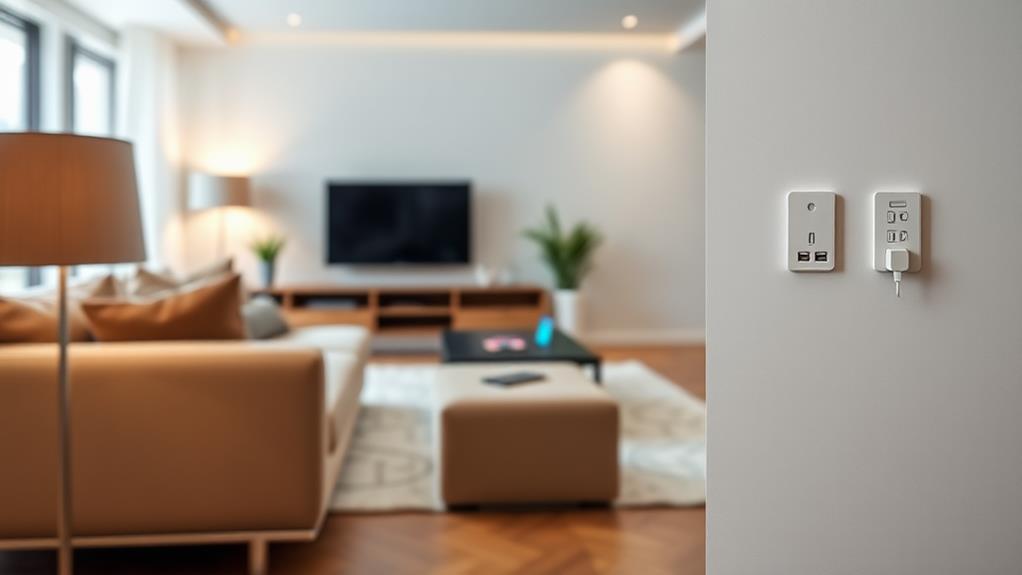
    As the sun rises and casts its gentle glow across the landscape, the significance of brightness becomes immediately apparent; it shapes our perceptions and influences our daily experiences.

    The ideal brightness level, measured around 51 on a scale of 100, creates a harmonious balance that allows for visibility without overwhelming glare. This mid-range illumination, approximating 40 watts or 500 lumens, fosters an environment where clarity prevails.

    Such carefully calibrated brightness not only enhances the aesthetics of a space but also facilitates daily activities, enabling individuals to navigate their surroundings with ease. Essentially, brightness serves as the foundation of our visual landscape, subtly guiding our interactions and enriching the moments we cherish.

    Lighting’s Influence on Mood

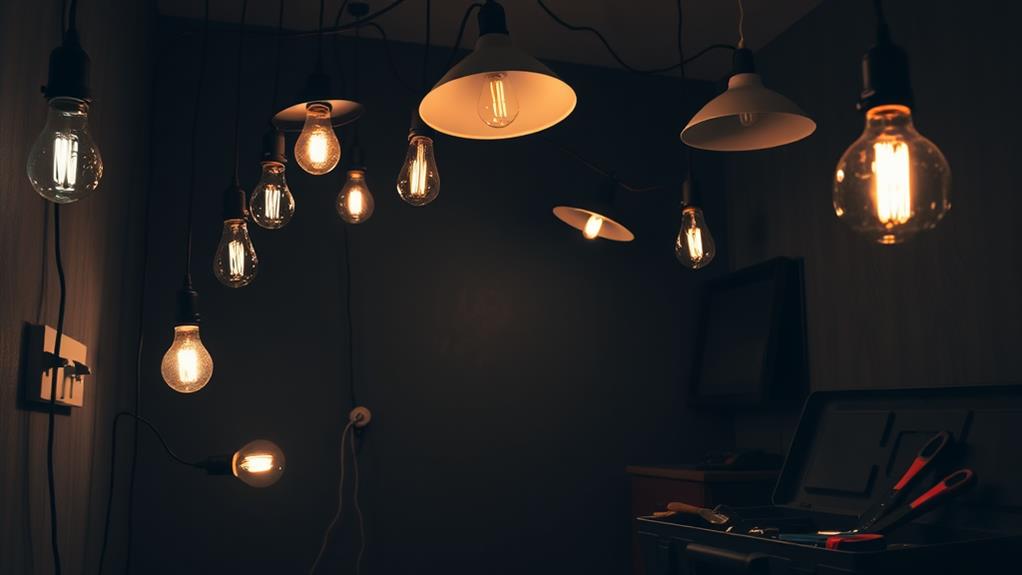
    The interaction between lighting and mood is a nuanced occurrence that requires careful examination. Research shows that changes in brightness significantly impact emotional states, with ideal lighting—around 40 watts or 500 lumens—striking a balance that improves visibility without overwhelming the senses. Brighter environments can revitalize, sparking feelings of energy and focus, while softer, warmer tones tend to promote comfort and intimacy.

    Noteworthy, the increase in interest for specialised lighting, such as SAD lamps during challenging seasons, highlights the emotional importance of light. Additionally, exposure to brighter light can boost testosterone levels, enhancing confidence and overall sexual satisfaction. Therefore, understanding this relationship is essential for creating spaces that nurture desired emotional experiences, illuminating the subtleties of human sentiment.

    Setting the Scene With Color

    Color plays a pivotal role in shaping our experiences and emotions within a space. It subtly influences our perceptions, creating atmospheres that resonate with our psychological states.

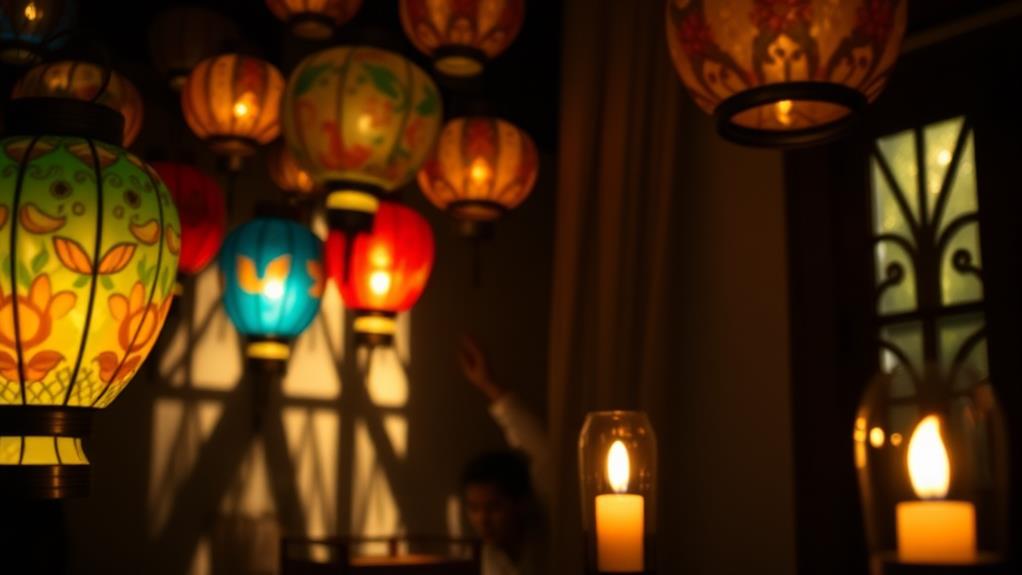
    Warm hues, such as browns, oranges, and soft nude tones, envelop us in comfort and intimacy, reminiscent of sunlit afternoons and cozy evenings. These colors can evoke feelings of nostalgia and tranquility, setting the stage for reflective moments.

    Conversely, cool tones—blues, purples, and greens—revitalise clarity, invigorating our senses and promoting focus. Their crispness mimics daylight, infusing spaces with energy and vibrancy.

    Embracing Warm Lighting

    Bathed in the gentle glow of warm lighting, spaces transform into havens of comfort and intimacy, inviting individuals to unwind and connect.

    With hues reminiscent of sunrises and sunsets, warm lighting—typically around 2200K—creates an ambiance that feels nurturing and serene.

    This soft illumination, often characterized by shades of brown, orange, and nude, promotes relaxation and fosters a sense of belonging.

    In homes and social settings alike, warm lighting encourages emotional engagement, allowing conversations to flow freely and connections to deepen.

    The Benefits of Cool Lighting

    Cool lighting offers an invigorating alternative to traditional warm tones, energizing spaces with a clarity that stimulates both the mind and body.

    Characterized by its blue, purple, and green hues, cool lighting typically ranges from 5000K to 9000K, mirroring the crispness of daylight. This spectrum not only enhances visibility but also invigorates creativity and productivity, making it ideal for workspaces and study areas.

    Research indicates that exposure to brighter light can positively influence mood and hormonal balance, particularly in combating seasonal affective disorder. Additionally, such lighting fosters a sense of alertness, encouraging engagement and interaction.

    Essentially, cool lighting serves as a dynamic tool for emotional enhancement, promoting a vibrant atmosphere conducive to both mental acuity and emotional well-being.

    Frequently Asked Questions

    How Can I Choose the Right Light for My Workspace?

    Choosing the right light for your workspace involves balancing brightness and color temperature. Aim for around 500 lumens with a warm tone (2200K) for comfort, or a cooler tone (5000K) for clarity and focus.

    What Are the Best Lighting Options for Photography?

    Ideal photography lighting combines natural and artificial sources. Softboxes and diffusers create balanced illumination, while reflectors enhance highlights. Experimenting with color temperatures can evoke desired moods, ensuring the final image resonates with intended emotional depth.

    How Do I Maintain My Light Fixtures for Optimal Performance?

    To uphold light fixtures for peak performance, regularly clean surfaces to remove dust, check connections for stability, replace worn bulbs promptly, and guarantee appropriate brightness levels, enhancing both functionality and aesthetic appeal in your environment.

    Can Lighting Affect Sleep Quality and Patterns?

    Lighting greatly influences sleep quality and patterns. Soft, warm lighting promotes relaxation, while harsh, bright lights can disrupt circadian rhythms. Adjusting light intensity and color temperature before bedtime can enhance restful sleep and overall well-being.

    What Are the Environmental Impacts of Different Lighting Types?

    Different lighting types have a notable impact on the environment, influencing energy consumption and carbon emissions. Energy-efficient options, such as LEDs, reduce resource depletion and promote sustainability, while traditional incandescent bulbs contribute to higher energy usage and environmental degradation.

    Conclusion

    The intricate relationship between lighting and emotions underscores the profound influence that illumination has on human experience. By harnessing the power of brightness, color temperatures, and the nuances of warm and cool lighting, environments can be thoughtfully designed to foster desired emotional responses. Ultimately, this understanding facilitates the creation of spaces that enhance well-being, nurturing a harmonious balance between mood and ambiance, and enriching daily interactions and reflections in the journey of life.

  • Upgrade Your Home: USB Sockets Revolutionise Charging

    Upgrade Your Home: USB Sockets Revolutionise Charging

    In an age where our devices seem to multiply like rabbits, the advent of USB sockets presents a solution that is both practical and, dare I say, elegant. With installation costs that are surprisingly reasonable, these sockets not only eliminate the need for cumbersome adaptors but also offer the efficiency of charging multiple devices simultaneously—up to 40% faster, no less. As we explore the myriad benefits and considerations of this upgrade, one must ponder: could the humble USB socket be the unsung hero of modern home design?

    Why Switch to USB Sockets

    In an age where convenience reigns supreme, the shift to USB sockets is not just a trend but a practical upgrade for any modern household. With new USB sockets ranging between £6 and £30, this investment promises to enhance both functionality and aesthetic appeal, potentially boosting your home’s value.

    Imagine a living space where charging devices no longer requires a scavenger hunt for those bulky adaptors or extension leads—it’s like finding a unicorn in the wild. Moreover, for those with a penchant for DIY projects, the installation process is straightforward, although hiring an electrician ensures peace of mind.

    Ultimately, switching to USB sockets is a savvy choice that aligns with contemporary lifestyle demands while effortlessly modernizing your environment.

    Installation Guide for USB Sockets

    Equipping your home with USB sockets is a commendable step towards modernizing your living space, but the installation process requires careful attention to detail. Begin by turning off the mains power—safety first, after all.

    Next, carefully remove the existing socket, revealing the live, neutral, and earth wires. When installing the new USB socket, make certain that the connections are made correctly; after all, we prefer charging devices, not short-circuiting them.

    Once installed, double-check the electrics to confirm everything is working as intended. If this sounds like a challenging task, consider hiring a qualified electrician—because some jobs are best left to the professionals, lest you find yourself in a shocking predicament!

    Benefits of USB Charging

    A multitude of advantages accompany the shift to USB charging, making it a highly appealing choice for today’s tech-savvy households.

    To start with, USB sockets streamline the charging process, eliminating the need for bulky adaptors that tend to vanish into the depths of drawers. With the ability to power multiple devices simultaneously, these sockets cater to our gadget-laden lives, ensuring that no device is left behind—unlike your last New Year’s resolution.

    Additionally, many small devices benefit from up to 40% faster charging, allowing users to spend less time tethered to the wall and more time enjoying their tech.

    Safety Considerations for USB Sockets

    Safety considerations surrounding USB sockets are paramount, especially as these modern charging solutions become ubiquitous in households. While USB sockets generally present similar risks as traditional three-prong outlets, they also come with unique safety features.

    For instance, they consume minimal power when not in use, reducing the risk of energy wastage—or your wallet’s sudden diet. However, users must remain vigilant; avoid inserting metal objects or using wet hands near these sockets, as the age-old adage “water and electricity don’t mix” still holds true.

    Ultimately, when installed correctly and used responsibly, USB sockets can enhance convenience while maintaining a safe environment, allowing you to charge devices without the shocking surprise of accidents.

    Explore USB Socket Options

    With the landscape of home charging rapidly evolving, exploring USB socket options provides an opportunity to enhance both convenience and functionality. Gone are the days of wrestling with bulky adaptors; modern USB sockets streamline charging for multiple devices simultaneously. From standard dual USB outlets to innovative smart sockets that monitor energy usage, the choices are plentiful.

    Budget-conscious homeowners can find options ranging from £6 to £30, while professional installation can elevate your space—though it may stretch your wallet a bit, costing up to £200. So, why not invest in a future where charging is as seamless as a Sunday morning? Embrace the evolution and keep your devices powered without the mess of cords.

    Frequently Asked Questions

    Can I Use USB Sockets for Non-Charging Devices?

    While USB sockets are primarily designed for charging devices, they can power certain low-wattage non-charging devices. However, it’s important to consult specifications, as using them incorrectly may lead to unexpected electrical surprises.

    Will USB Sockets Work With All Types of USB Cables?

    USB sockets are compatible with most USB cables, including Type-A, Type-B, and Type-C. However, make sure that the cable matches the device’s requirements. Otherwise, you might end up with a perplexing charging experience—like a fish out of water.

    How Many USB Ports Can I Install in One Room?

    The number of USB ports you can install in one room largely depends on available electrical capacity and design preferences. However, a well-planned approach can accommodate multiple ports—just don’t turn your living space into a charging station!

    Do USB Sockets Require Special Maintenance?

    USB sockets require minimal maintenance, primarily dusting and ensuring connections remain secure. Treat them with care, avoiding excess moisture and heavy objects. After all, even technology appreciates a little TLC—too much neglect could lead to ‘disconnections.’

    Are There Any Compatibility Issues With Older Devices?

    Compatibility with older devices is generally not an issue; most USB sockets support a variety of charging standards. However, older devices may charge slower, akin to a tortoise competing with a hare—patience is key.

    Conclusion

    To sum up, the adoption of USB sockets signifies a notable progression in residential electrical installations. By enabling quicker charging and decluttering traditional adaptors, these sockets improve both functionality and visual attractiveness. Moreover, the straightforward installation process and wide range of options available emphasize their practicality. As homes progressively integrate modern technology, USB sockets emerge not only as a convenience but also as a worthwhile asset, guaranteeing that even those with limited technical skills can experience effortless charging.

  • Metal Trunking: Your Ultimate Installation Companion

    Metal Trunking: Your Ultimate Installation Companion

    Metal trunking is an essential ally in the world of electrical installations, offering both organization and safety for cable management. Its sturdy design not only improves the visual appeal of spaces but also plays a crucial role in fire prevention and regulatory compliance. Understanding the differences between trunking and conduit, as well as choosing the right sizes and using efficient installation methods, is important for the best performance. However, the intricacies of these practices are often ignored; therefore, it is important to explore how they can greatly affect the efficiency and safety of your electrical systems.

    Understanding Metal Trunking

    Metal trunking is frequently used in modern electrical installations as a crucial solution for housing and managing electrical cables. Its design allows for the effective organization of multiple cables, ensuring a neat and professional appearance. Metal trunking is typically installed behind walls or beneath flooring, which not only enhances aesthetics but also contributes to safety by minimizing the risk of accidental damage.

    Moreover, it plays a critical role in fire prevention; in the event of electrical faults, metal trunking helps contain flames and restrict their spread. Compliance with regulatory standards is paramount in electrical installations, making metal trunking an essential component for both practical applications and adherence to safety regulations. Therefore, it is pivotal for efficient and secure electrical management.

    Trunking vs. Conduit

    When comparing trunking and conduit, it is crucial to understand their distinct functions and applications within electrical installations. Trunking serves as an all-encompassing solution for housing multiple cables, facilitating effective cable management while enhancing safety by preventing fire spread. It is typically installed behind walls or under flooring, providing a consolidated approach to wiring.

    In contrast, conduit is designed primarily to direct individual wires to specific devices, ensuring a streamlined connection. While trunking can accommodate a variety of cables in a single location, conduit offers a more focused path for electrical flow.

    The choice between trunking and conduit depends on the specific requirements of the installation, such as the need for organization versus directional wiring.

    Selecting the Right Size

    Understanding the distinctions between trunking and conduit lays the foundation for choosing the appropriate size of trunking for your installation needs. When determining the size of metal trunking, consider the number of cables to be housed and their combined space requirements. Overheating can occur if trunking is overfilled, leading to potential safety hazards such as blown fuses or fires. To mitigate these risks, make sure that the occupancy in the trunking does not exceed 45%.

    Additionally, calculate the total cross-sectional area of the cables, taking into account insulation thickness. This evaluation will assist you in selecting trunking that not only accommodates your cables efficiently but also complies with safety regulations and best practices for electrical installations.

    How to Cut Trunking

    How can one guarantee a precise and effective cut when working with metal trunking? The key lies in using the appropriate tools and techniques.

    Begin by selecting a high-quality metal cutter, confirming it is sharp and suitable for the trunking material. Before making any cuts, accurately measure and mark the desired length on the trunking, utilizing a straightedge for precision.

    For angled cuts, mark a 90-degree line and draw a triangle to guide a 45-degree cut. Employ steady, even pressure while cutting to avoid jagged edges.

    It is essential to wear protective gloves to safeguard against sharp metal edges post-cutting. Finally, verify the cut's accuracy against your initial measurements to guarantee proper fit during installation.

    Plastering Techniques for Trunking

    After guaranteeing precise cuts in the metal trunking, attention turns to the plastering techniques that will effectively conceal and secure the installation.

    The first step involves applying a bonding coat to create a suitable surface for plaster adhesion. It is vital to ensure that the trunking is adequately recessed within the wall, allowing for sufficient plaster coverage without compromising cable safety.

    Utilize a trowel to spread the plaster evenly, guaranteeing a smooth finish that aligns with the surrounding wall surface.

    When plastering, it is important to monitor drying times and avoid excessive moisture that could affect the trunking.

    For intricate installations, enlisting professional assistance may be wise to achieve seamless integration and compliance with safety standards.

    Frequently Asked Questions

    What Materials Are Commonly Used for Metal Trunking?

    Common materials used for metal trunking include galvanized steel, aluminum, and stainless steel. These materials provide durability, corrosion resistance, and structural integrity, ensuring effective protection and management of electrical cables within various environments.

    How Long Does Metal Trunking Typically Last?

    Metal trunking typically has a lifespan of 20 to 30 years, depending on environmental conditions and usage. Proper installation and maintenance further enhance durability, ensuring effective cable management and safety throughout its operational life.

    Can I Paint Over Metal Trunking?

    Yes, metal trunking can be painted. Select a paint suitable for metal surfaces to guarantee proper adhesion and durability. Make sure the surface is clean and primed if necessary, maintaining both aesthetics and functionality in electrical installations.

    Is Metal Trunking Waterproof or Weatherproof?

    Metal trunking is not inherently waterproof or weatherproof. While it provides protection against physical damage, appropriate sealing and coatings are necessary for outdoor environments to prevent moisture ingress, ensuring the safety and integrity of electrical installations.

    What Tools Are Needed for Trunking Installation?

    For trunking installation, essential tools include a metal cutter for accurate cuts, a measuring tape for precise dimensions, a level for alignment, and screws or anchors for secure mounting. Safety gear is also recommended for protection.

    Conclusion

    To wrap up, metal trunking serves as a crucial component for efficient and safe electrical cable management. Its benefits include improved organization, lowered damage risk, and adherence to safety standards. Grasping the differences between trunking and conduit, choosing the right size, and using efficient cutting and plastering methods are crucial for achieving ideal installation results. Ultimately, metal trunking not only eases the installation process but also plays a key role in the overall safety and aesthetic appeal of electrical systems.

  • Common Light Problems & Fixes: A Quick Guide

    Common Light Problems & Fixes: A Quick Guide

    Lighting issues can disrupt daily activities to a large extent, stemming from a variety of sources such as electrical surges, faulty circuit breakers, and deteriorating components. Identifying the root cause of these problems is essential for effective resolution, whether it involves simple bulb replacements or more complex electrical diagnostics. A systematic approach to troubleshooting can improve both safety and functionality in any environment. Understanding these common issues is the first step; however, knowing how to implement the right fixes can be the key to maintaining an efficient lighting system. What strategies can be used to maximize performance?

    Common Causes of Light Issues

    Light issues can stem from a variety of common causes, with four primary factors frequently at play.

    First, preventing surges is important, as they can greatly reduce the lifespan of light bulbs by wearing down filaments.

    Second, understanding circuit breakers is crucial; a tripped breaker can interrupt power and cause lights to fail.

    Third, the condition of ballasts plays a crucial role in maintaining consistent light output; a malfunctioning ballast can lead to flickering or dim lighting.

    Lastly, routine filament maintenance is necessary to ensure best performance, as a burnt-out filament will require replacement. By addressing these causes, one can effectively mitigate light problems and enhance the longevity of lighting fixtures.

    Troubleshooting Light Bulb Problems

    Addressing light bulb problems requires a systematic approach to identify and resolve the underlying issues. Begin by checking for common causes, such as a blown bulb or a tripped circuit breaker. Preventing bulb burnout is vital; make sure that the voltage matches the bulb’s specifications to avoid premature failure.

    If flickering persists, troubleshoot faulty switches and inspect for any damaged wires that may require replacing. Regular socket maintenance is important; avoid over-tightening bulbs, as this can flatten contacts, leading to poor connections. If the socket appears compromised, consider replacing it entirely.

    Fixing Light Switch and Socket Issues

    When encountering problems with light switches and sockets, it is crucial to systematically diagnose the issue to ensure safe and effective repair. Common causes include damaged wires, burnt-out switches, or malfunctioning sockets.

    First, check if the circuit breaker has tripped or if the light bulb has blown. If the switch is unresponsive, consider replacing switches to restore functionality.

    For socket maintenance, make sure that light bulbs are properly seated; over-tightening can flatten contacts, impairing performance. If there are persistent issues, inspect for loose connections within terminals.

    In cases where simple fixes do not resolve the problem, it may be necessary to consult a qualified electrician for thorough repairs or replacements to guarantee safety and compliance with electrical standards.

    Conclusion

    To conclude, understanding the common causes of light problems, such as surges, circuit interruptions, and ballast malfunctions, facilitates effective troubleshooting. Addressing issues related to light bulbs, switches, and sockets is essential for maintaining ideal lighting conditions. Implementing routine maintenance and promptly addressing underlying causes not only enhances performance but also extends the lifespan of lighting fixtures. Adopting these measures contributes to a consistently well-lit environment, thereby improving safety and functionality in residential and commercial settings.

  • Wiring in a Video Doorbell

    Wiring in a Video Doorbell

    When you decide to wire in a video doorbell, your first priority must be safety, which involves turning off the power at the breaker. You’ll need to assess the existing wiring to confirm it meets the voltage specifications, typically between 16-24 VAC. As you prepare to connect the doorbell using a wiring harness or jumper cables, precise attention to detail is essential for a secure installation. However, the wiring process is just the beginning; understanding how to test and troubleshoot the system effectively is equally important, and the nuances of this can greatly impact performance.

    Understanding Video Doorbell Types

    When considering the installation of a video doorbell, grasping the different types available on the market is pivotal. Each type has unique installation tips and power sources that influence your decision.

    Wired video doorbells require a direct connection to an existing power source, typically a doorbell transformer. This guarantees consistent power and often superior video quality due to a stable connection.

    Battery-powered models offer flexibility, as they run on rechargeable batteries, eliminating the need for wiring. However, you’ll need to monitor battery life to maintain functionality.

    PoE (Power over Ethernet) video doorbells combine power and data through a single Ethernet cable, making them ideal for areas lacking existing wiring.

    Before installation, conducting a compatibility check with your home’s current wiring or network setup is vital. Additionally, consider the security features of each type; wired models often provide stronger security due to their reliable power source.

    Ultimately, understanding the nuances of these video doorbell types will guide you toward the best choice for your home, ensuring that you enjoy the benefits of enhanced security and convenience.

    Tools and Materials Needed

    Selecting the right tools and materials is essential for a successful video doorbell installation, particularly for wired models that require a direct connection to your home’s electrical system. To begin, gather essential tools like a screwdriver, wire strippers, voltage tester, and, if necessary, a drill equipped with a masonry bit for brick or stucco surfaces.

    Your materials list should include mounting screws, wire nuts, and the video doorbell itself, ensuring video doorbell compatibility with your existing wiring. It’s wise to consult the manufacturer’s instructions for any specific tools or materials needed for your model.

    When employing proper wiring techniques, always follow safety precautions. Turn off the power before starting your installation to avoid electrical hazards.

    Pay attention to common mistakes, such as neglecting to secure connections or overlooking the need for a bypass cable in certain setups.

    Preparing Your Existing Wiring

    Before delving into the installation of your video doorbell, it’s essential to prepare your existing wiring to guarantee compatibility and optimal performance. Start by verifying the voltage compatibility of your wiring; it should provide between 16-24 VAC at 50-60Hz, with a maximum of 40VA. This range is vital for powering the video doorbell effectively.

    Next, check the specifications of your transformer. It must meet the voltage and power requirements to prevent any damage to the doorbell unit. If the voltage is too low, it may trigger Event Response mode, leading to performance issues.

    Additionally, assess your chime system’s compatibility with the new doorbell. An incompatible chime can cause wiring issues that might disrupt the functionality of the doorbell. Confirm all components are aligned with the requirements set forth in the manufacturer’s instructions.

    Step-by-Step Wiring Process

    With your existing wiring properly prepared, you can now proceed to the wiring process for your video doorbell. Begin by turning off the power at the breaker to guarantee safety.

    Next, identify the existing wiring and verify its compatibility with the video doorbell’s voltage requirements. Consult the manufacturer’s instructions for specific wiring techniques tailored to your model.

    Use the provided wiring harness or jumper cables to connect the doorbell to the existing wiring system. Securely attach the wires to the designated terminals on the video doorbell, making sure each connection is tight and properly aligned. This step is essential for maintaining functionality and preventing electrical issues.

    As you work, pay attention to cable management. Neatly arrange the wires to avoid tangling and ensure they’re shielded from damage. This not only enhances the aesthetic but also promotes longevity.

    Testing and Troubleshooting

    Once you’ve finished the wiring for your video doorbell, it’s crucial to test the connections to make certain everything functions correctly. Start by using a multimeter to measure the voltage levels at the doorbell terminals. Confirm that the transformer voltage aligns with the requirements specified by the manufacturer. A proper voltage reading confirms that the power supply is sufficient for your device.

    If you encounter any issues, check for wiring problems such as loose connections or damaged wires. These can significantly impact performance.

    If the doorbell doesn’t respond, consider using a bypass cable to isolate the doorbell chime and test the functionality of the video doorbell directly. This step helps identify whether the issue lies within the chime or the doorbell itself.

    Conclusion

    To sum up, effectively wiring in a video doorbell improves your home’s security and convenience. By following the specified steps—confirming you’ve turned off the power, checking voltage requirements, and securely linking the wires—you’ll achieve a dependable installation. Remember, always test the connections with a multimeter before restoring power to confirm everything’s functioning correctly. With meticulous attention to detail, your video doorbell will not only operate efficiently but also enhance the value of your home.